So, we had these huge, beautiful windows. We went hunting for blinds, shutters and all kinds of options and found out that huge windows are crazy expensive to cover. So, instead we decided on buying some white linen drapes and make some white linen cornices for the top. Or rather, I decided that my husband Aaron would make cornices!
 |
| Here were some of the basic materials. |
 |
| This made me laugh. We rented a table saw and it didn't have a guide. So my hubbie decided to create one himself. |
 |
| Our garage became the guide! |
So, again, we have some huge windows. And two of them has these side windows. So, we decided to make one solid piece to cover both. My structural engineer of a husband decided the safest way to make these massive pieces was to attach a long wood strip to the wall and put another long strip on the back of the cornice that fits in like a puzzle piece. One very cool part of this is that we are able to just lift it on and off as needed.
 |
| See...massive right?! |
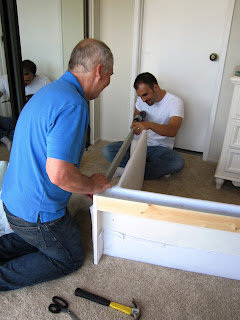
After getting the wood base, the next step was to staple on batting and then fabric. I didn't want that super puffy '80's look so we chose a 1 inch batting
 |
| I ironed the fabric before putting on to not stress about wrinkles afterwards |
 |
| The corners were tricky! On the 2nd one we figured out that it was easier to staple fabric on the first long side before attaching the second wood piece. |
So, finally we had the construction phase complete. Here's the results!
 |
| Dining Room - Before | | | |
 |
| After |
 |
| Before - Master Bedroom |
I really liked the look of the plain white linen cornices but decided that I wanted some design for them as well.
Click here to see the final FINAL project with silver nailhead trim.


No comments:
Post a Comment