This post is the second phase of our massive window cornices project.
Click here to view the post where we made the cornices.
They looked pretty great with just white, but I decided they would be fun to make a bit more of a statement. Which started our silver nailhead education. First, I got the trim instead of individual tacks. That way you can have a long strip and only have to nail in every fifth one.
But, let's just say that choosing to do a super long strip of these that are pin straight on crisp white linen is tough. It definitely challenged by OCD husband, Aaron.
 |
| There were a LOT of nails to worry about! |
 |
| Fishing line became our friend to help keep our sanity on those straight lines. |
Through a lot of trying, we finally ending up with a method for keeping the straight lines. We nailed in two nails. One at either end of our long row. Then we wound fishing wire around one nail and brought it all the way over to other one and made it taut. That became our straight line to follow and we could just snip it off when we were done. You just put the nail right over that line until it touches the actual nail portion of the tack. And then hammer it down pulling out the line before it smashes all the way down. It worked like a charm!
But, the actual hammering was tough too.
 |
| My job was to keep the lines generally straight to keep the set-up moving. You can see the little fishing wire. |
 |
| Needlenose pliers were an essential to hold the nail in place and then pound in with a rubber mallet. |
 |
| It can be a one person job, but we found it fastest ultimately for one person to position the tack while the other hammers it in (this pic is from a different project of ours). |
So, you've probably noticed that weird blue circle in the middle of
everything. That's our high tech guide for a our center circle.
Otherwise known as the top of a commercial sized paint bucket. We could
have cut something out of cardboard or paper to help but this ended up
being the right size so we went with it. We finished up all the straight parts and then went for the center circle.
 |
| We added another fishing line across to make sure we were centered. |
We bent the nailhead trim into the general shape we wanted around the paint lid.
To make the hammering portion easier, I'd pull away the paint lid each time we had one in the right place. That's why the fishing line sure came in handy to move right back to the correct spot.
Then we just measured out an equal distance from the circle and did the final rounded edge. And we were complete!
 |
| Aaron said it was his personal longboard. |
 |
| Before Pic of the master bedroom |
 |
| After - White Linen Cornices with silver nailhead trim |
Now, if you remember, I said I had not one window but FOUR. We made two of these for the master bedroom and then my husband went on strike. I was told to find a different design for downstairs. One that didn't involve any straight lines. Soo...I looked around on the internet and saw this:
 |
| Sorry, I don't have the source. Please let me know if you have a link I can use. |
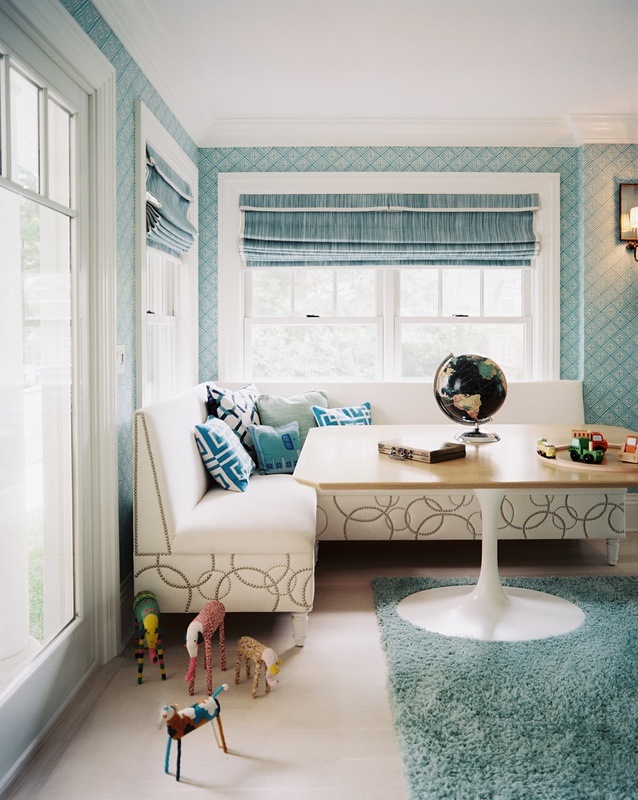
I thought the base of the banquette was really fun and similar to what I'd already picked for my house. So, we replicated that for downstairs. This time we pre-made the circles.
 |
| It took about 2 football games to shape all the different circles. |
Then I played around a bit with the sizes and order.
 |
| Finding the perfect combo of the circles |
We had the nailing part of this project down, but we had to use our stairs at one point just for the ceiling height. We needed to nail down the circles to the smaller part of the cornice.
But finally, we were complete! Two master bedroom windows and two downstairs in the living/dining area were now covered and complete! Here's the final result for the dining/living area.
 |
| Before Pic - of the Living/Dining Room |
 |
| After - Living/ Dining Room |
 |
| Before - Dining Room |
 |
| Dining Room - After |
 |
| White Linen cornices with silver nailhead Trip |


No comments:
Post a Comment